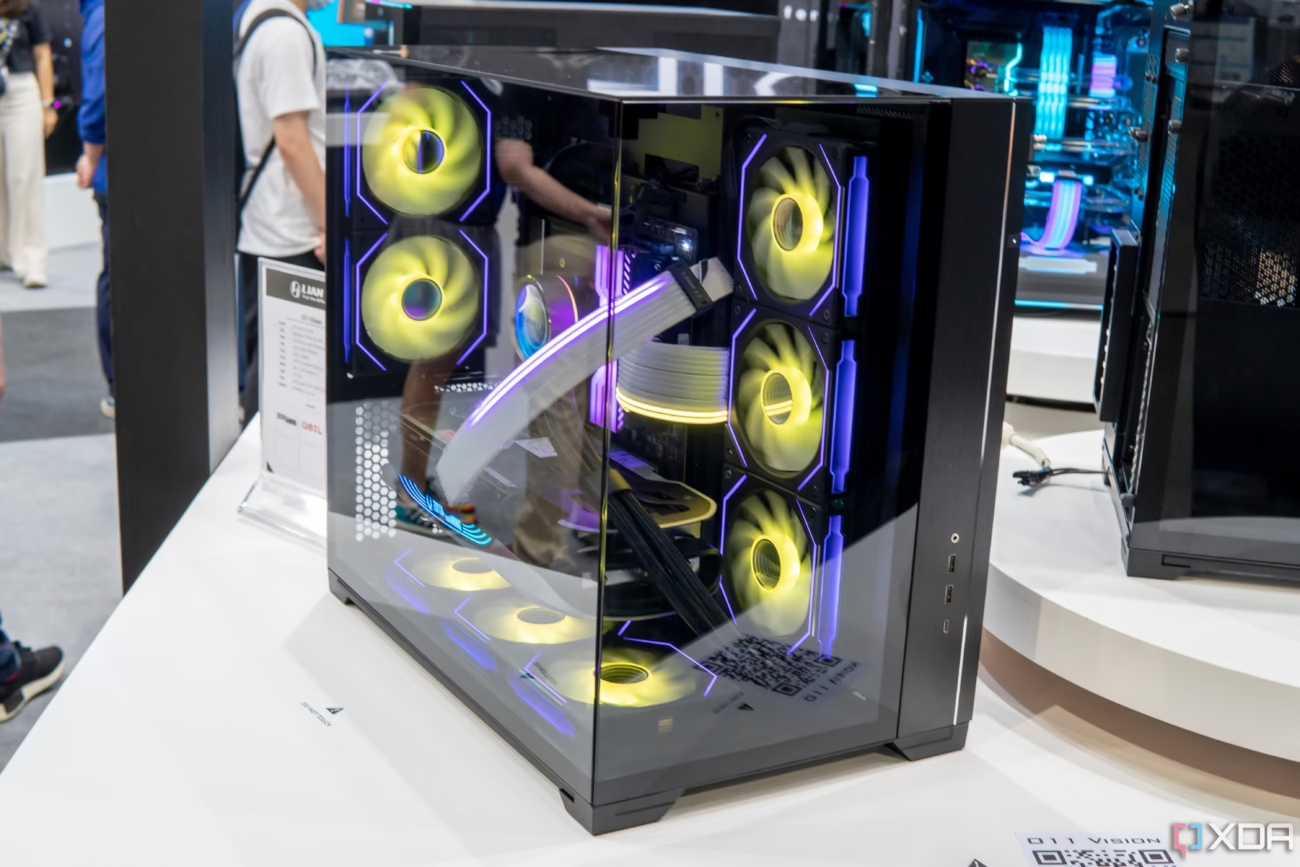
Building your own computer from scratch can feel intimidating at first, but with the right guidance, it becomes a highly rewarding experience. Whether you’re looking to create a high-performance gaming setup, a workstation for productivity, or a budget-friendly home PC, understanding the process step by step will empower you to make better decisions and even save money in the long run.
In this guide, we’ll walk you through every major component, essential tools, and the detailed steps needed to build your first computer safely and successfully.
Why Build a Computer Instead of Buying One?
Before diving into the technical steps, it’s worth understanding why so many people prefer building their PCs rather than buying pre-built ones.
- Customization: You choose the exact specifications to suit your needs.
- Cost-effectiveness: You avoid paying for unnecessary features or brand markups.
- Performance: You get better performance per dollar spent.
- Learning Opportunity: You gain knowledge that can help with future upgrades or troubleshooting.
What You’ll Need to Build a PC
Here’s a checklist of the components you’ll need to assemble a working computer:
- CPU (Central Processing Unit)
- Motherboard
- RAM (Memory)
- Storage (SSD or HDD)
- Power Supply Unit (PSU)
- Case (Chassis)
- Graphics Card (if not using integrated graphics)
- Cooling system (air or liquid, depending on your build)
- Monitor, keyboard, and mouse
- Operating System (like Windows or Linux)
In addition, keep the following tools and accessories on hand:
- Phillips screwdriver
- Anti-static wrist strap (recommended)
- Thermal paste (if not pre-applied on your cooler)
- Zip ties for cable management
Step-by-Step Guide to Building Your Computer
Step 1: Prepare Your Workspace
Find a clean, flat surface with plenty of light and minimal static. Avoid carpeted areas and wear an anti-static wristband to prevent damaging components.
Step 2: Install the CPU
- Open the CPU socket on the motherboard.
- Align the processor with the socket’s indicator arrow.
- Gently place it into the socket without forcing it.
- Lock the CPU into place with the retention arm.
Step 3: Apply Thermal Paste and Install CPU Cooler
- If your cooler doesn’t have pre-applied paste, add a small pea-sized amount of thermal paste to the center of the CPU.
- Secure the cooler on top of the CPU using the mounting mechanism provided.
Step 4: Install the RAM
- Open the RAM slots by pushing the side clips outward.
- Line up the RAM module with the notch in the slot.
- Press firmly until it clicks into place.
Step 5: Mount the Motherboard to the Case
- Install the I/O shield into the back of the case.
- Place the motherboard onto the case’s standoffs.
- Secure it using screws provided with the case.
Step 6: Install the Storage Drives
- Mount your SSD or HDD in the drive bay or M.2 slot.
- Connect it to the motherboard using a SATA cable (for SSD/HDD) or directly to the slot (for M.2 drives).
- Connect a power cable from the PSU.
Step 7: Install the Power Supply (PSU)
- Fit the PSU into the designated area, usually at the bottom or top of the case.
- Secure it with screws.
- Connect the main 24-pin ATX and CPU 8-pin power cables to the motherboard.
Step 8: Install the Graphics Card (if required)
- Insert the GPU into the appropriate PCIe slot on the motherboard.
- Secure it with screws to the case.
- Connect the necessary power cables from the PSU to the GPU.
Step 9: Connect All Cables
- Attach front panel connectors (power button, USB, audio, etc.) to the motherboard.
- Connect all SATA data and power cables for storage.
- Double-check all connections for stability and correctness.
Step 10: Cable Management
- Use zip ties or Velcro straps to bundle and route cables neatly.
- Good airflow and aesthetics start with solid cable management.
Step 11: First Boot
- Connect your monitor, keyboard, and mouse.
- Plug in the power cable and turn on the PSU.
- Press the power button on your case.
- If everything is installed correctly, your PC should power on and display a BIOS/UEFI screen.
Installing the Operating System
- Download your preferred OS (Windows, Linux, etc.) onto a USB drive using a tool like Rufus.
- Insert the USB into your new PC.
- Follow on-screen instructions to install the OS.
Troubleshooting Tips
If your PC doesn’t turn on or display anything, check the following:
- Are all power cables connected correctly?
- Is the RAM seated properly?
- Are there any loose connections?
- Is your monitor connected to the GPU and not the motherboard (if using a GPU)?
Most issues come down to simple connection errors, so take your time and double-check each component.
Keeping Your System Updated
Once the system is running:
- Install all driver updates from the motherboard and GPU manufacturer’s website.
- Run system updates for your operating system.
- Consider installing software for hardware monitoring to track temperatures and performance.
Final Thoughts: You Built Your First Computer!
Congratulations! Building your own PC is a big achievement. Now that it’s assembled and running, you can customize it further, upgrade it over time, and enjoy the satisfaction of knowing exactly what’s inside your machine.
From gaming and streaming to design work or everyday tasks, you now have a machine that suits your exact needs—and a new skill set that will benefit you for years to come.
Stay tuned for the next article: “The Essential Parts You Need for a High-Performance Gaming PC in 2025.”
