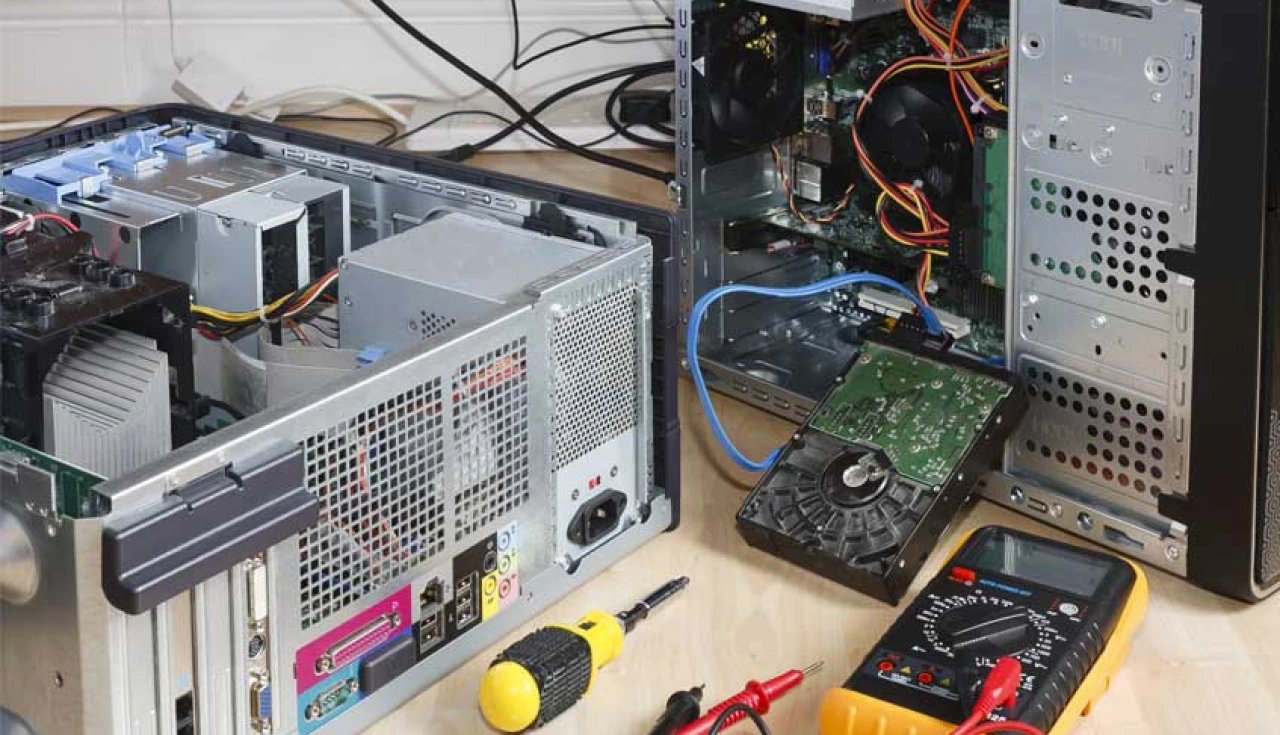
You’ve carefully assembled your PC, double-checked every component, and pressed the power button—only to be met with silence or a blank screen. Don’t panic. This is one of the most common situations for first-time builders and even experienced ones.
In this guide, we’ll walk you through a step-by-step troubleshooting checklist to help you figure out why your PC isn’t turning on and how to fix it.
Step 1: Look for Signs of Life
Start by checking for any response from your system:
- Are fans spinning?
- Are motherboard LEDs lighting up?
- Do you hear beeps or see debug codes?
- Is there any video signal on your monitor?
These clues will guide your next steps.
Step 2: Recheck Power Connections
What to verify:
- 24-pin motherboard connector is fully seated
- 8-pin CPU power connector (often forgotten!)
- GPU power connectors (if required—usually 6/8/12-pin)
- Front panel power switch cable is connected properly (consult motherboard manual)
Tip: Unplug and firmly reconnect each cable—don’t assume it “looks” right.
Step 3: Try a Minimal Boot
Remove all non-essential parts to test core functionality.
Keep only:
- Motherboard
- CPU + cooler
- 1 stick of RAM
- Power supply
- Onboard graphics (or GPU if required for display)
Leave out:
- Extra RAM sticks
- SSDs/HDDs
- Case fans, RGB, peripherals
Now power on and see if the system POSTs (Power-On Self-Test).
Step 4: Check the RAM and GPU
RAM Troubleshooting:
- Reseat RAM sticks firmly until they click
- Try each stick individually in each slot
- Consult the manual for proper dual-channel configuration (often slots 2 and 4)
GPU Troubleshooting:
- Ensure it’s seated all the way into the PCIe x16 slot
- Check that PCIe power cables are connected
- Test with another GPU if available
- Try integrated graphics (if CPU supports it)
Step 5: Verify the Motherboard and CPU
Motherboard:
- Ensure it’s mounted with stand-offs (no short circuits)
- Check for error LEDs or beep codes
- Make sure the CMOS battery is properly seated
CPU:
- Remove and inspect for bent pins (especially AMD CPUs)
- Reinstall CPU and cooler carefully
- Verify thermal paste application isn’t shorting pins
Step 6: Reset the CMOS
Resetting the BIOS settings can help resolve boot issues.
How:
- Unplug power
- Remove the CMOS battery for 1 minute, then reinstall
- Or use the clear CMOS jumper on the motherboard
- Reconnect and try powering on again
Step 7: Test with Another PSU (If Available)
A faulty power supply may provide enough power for fans or LEDs but not for full boot.
If possible, test your system with a known-good PSU with the correct wattage.
Step 8: Check Your Display Setup
Sometimes your PC is running—but the screen is blank.
- Ensure your monitor is turned on and set to the correct input
- Try a different cable (HDMI, DisplayPort)
- Plug the display into the GPU, not the motherboard, unless you’re using integrated graphics
- Try another monitor if possible
Step 9: Look for Post Beeps or LEDs
Many motherboards include:
- Debug LEDs (CPU, DRAM, VGA, BOOT)
- Q-Codes (numbers that refer to specific errors)
- Beep codes (via system speaker)
Refer to the motherboard manual to interpret these signals.
Step 10: Last Resort – Breadboarding
If nothing else works, remove the motherboard from the case and set it up on a non-conductive surface (cardboard box, foam pad). Rebuild the system with just core components and try to boot.
This helps eliminate short circuits caused by improper case installation.
Final Checklist
24-pin and 8-pin power connected
RAM fully seated and tested individually
CPU installed with correct orientation
GPU fully seated with power (if needed)
CMOS reset
Monitor connected properly
PSU working and wattage adequate
No screws or standoffs shorting the motherboard
Wrapping Up: Stay Calm and Troubleshoot Systematically
It’s completely normal for your PC to not turn on the first time. With patience and a logical approach, you’ll almost always find the cause. Follow this checklist, isolate the problem, and you’ll be powering on your build in no time.
Next up: “How to Choose the Right Operating System for Your Custom PC”
